Imagine a much smoother, lighter, and more spreadable cement. That’s stucco. But it’s tough-as-nails just like cement and forms a neutral and durable exterior surface.
Construction crews apply stucco over a new home’s concrete block frame, troweling it to an even finish. Once cured (or dried), the exterior stucco is painted with the colors specified by that home’s elevation (exterior design).
Stucco is a historic material used for centuries in warmer climates around the world. Because it works so well in sub-tropical and tropical climates, it’s long been a popular look in Florida.
For example, ICI Homes’ master-planned community of Tamaya in Jacksonville goes all in on exterior stucco finishes by featuring Mediterranean, Tuscan and Spanish elevations.
Why stucco needs caulking
Stucco is strong, but expect small cracks to form in it eventually. A good strategy is to inspect your home’s stucco exterior every three months, or seasonally in spring, summer, fall and winter.
It’s important to find, then repair stucco cracks to prevent water damage. You repair it by caulking those cracks.
How to caulk it
First, fill a bucket with water and grab a large, sturdy sponge. Clean the crack(s) with a damp sponge and let them dry.
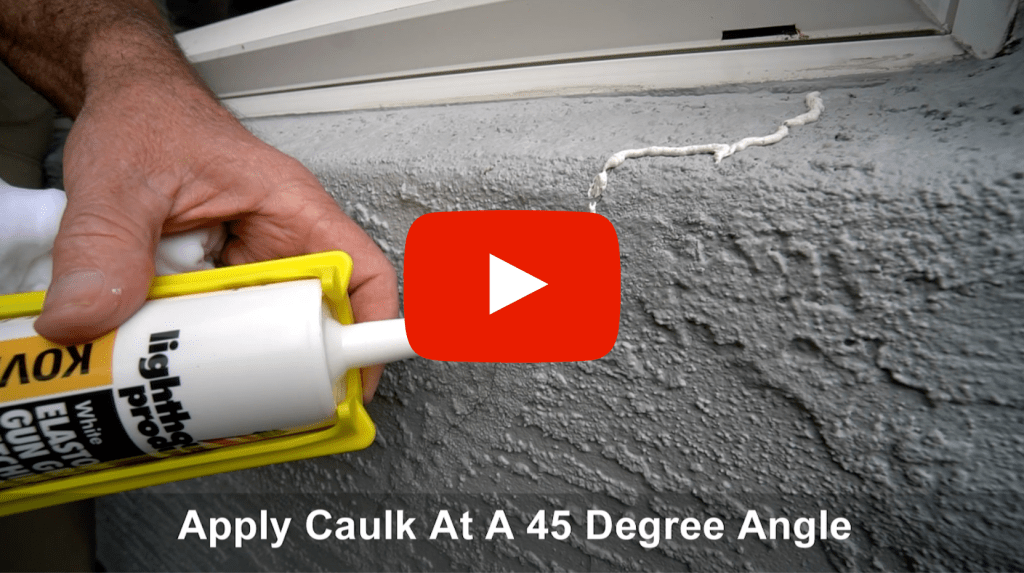
Next, you’ll need sanded caulk and a metal and/or plastic applicator to hold the tube of caulk (plus study scissors to snip off the caulk tube’s tip). Sanded caulk contains pumice grit that will help it blend with the texture of your home’s stucco.
Next, use a wet fingertip to smooth the caulk into the crack and blend it with existing stucco on either side. Wipe away excess with your damp sponge, then allow the caulk to cure for 48 hours.
Finally, use your paint touchup kit to paint the repaired crack; it’ll match your existing stucco.
All done! For more helpful tips, take a look at the rest of our Homeowner Maintenance series.
Ready to find the home of your dreams? Talk with Florida’s Custom Home Builder, ICI Homes.


